DataCap PayAPI
DataCap PayAPI handles online card payment processing through a web-based interface. It allows customers to enter card details in a secure hosted payment page or iframe, without handling raw card data on your POS.
PayAPI is also required for Apple Pay and Google Wallet integration — both wallet options run on top of the PayAPI connection and share the same DataCap merchant credentials.
Prerequisites
- DataCap merchant account with PayAPI enabled
- DataCap public key and PayAPI Merchant ID provided by DataCap
Enabling in Transaction Settings
- Navigate to Settings > Software & Hardware > Transaction Settings.
- Enable DataCap PayAPI.
- Save the transaction settings.
Once enabled, the PayAPI payment option appears in the payment panel for online orders.
Payment Total
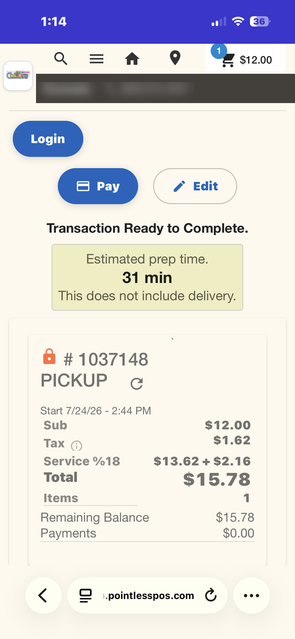
The payment total screen displays the order breakdown with the PayAPI payment option available.
Card Entry
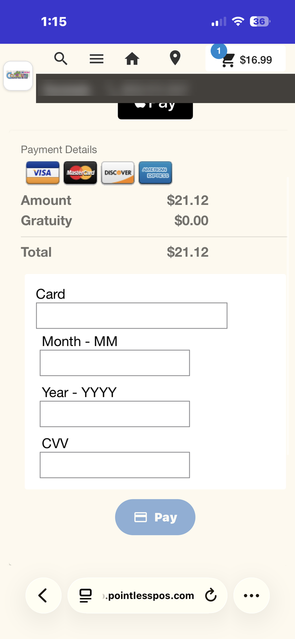
Customers enter their card details in the secure DataCap-hosted payment form.
Additional PayAPI Options
The following settings in Transaction Settings control PayAPI behavior:
| Setting | Description |
|---|---|
| PayAPI Pre-Auth | Allow pre-authorization through PayAPI (hold funds without charging) |
| PayAPI Zero Auth | Allow zero-dollar authorization for verification |
| PayAPI Token Auth | Enable token-based authorization for stored cards |
| PayAPI Recurring Auth | Enable recurring/subscription authorization |
| PayAPI Cards on File | Allow storing customer cards for future use |
Apple Pay and Google Wallet
Apple Pay and Google Wallet are built on top of PayAPI. To enable them:
- Ensure DataCap PayAPI is enabled first.
- Enable Apple Pay or Google Wallet in Transaction Settings.
- Configure the Apple Pay Merchant Name field — this is the name displayed to customers during wallet checkout.
Tip Presets
Customers can be presented with preset tip options and a custom tip entry during payment. The tip percentages and custom entry label are controlled by the Guest Tip Presets (% of total, e.g. 15,18,20) field in Transaction Settings.
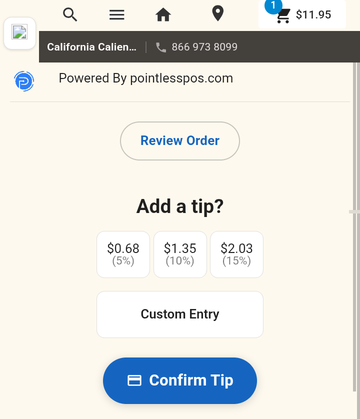
- Guest Tip Presets — Configure tip percentage options for wallet and QR payments
Testing
After enabling PayAPI, test a transaction by placing an online order and selecting the PayAPI payment method at checkout.